声明:本文中所有数据都是来源于第三方福利网站的数据,本文仅对数据中相关的信息进行解析。本人非常喜欢这些女明星,绝无抹黑之意。
from pyspark.sql.functions import col
import altair as alt
import pandas as pd
from matplotlib import pyplot as plt
%matplotlib inline
csv = spark.read.option("header",True).csv("hdfs://localhost:9000/data2/porn_data_movie.csv")
csv.printSchema()
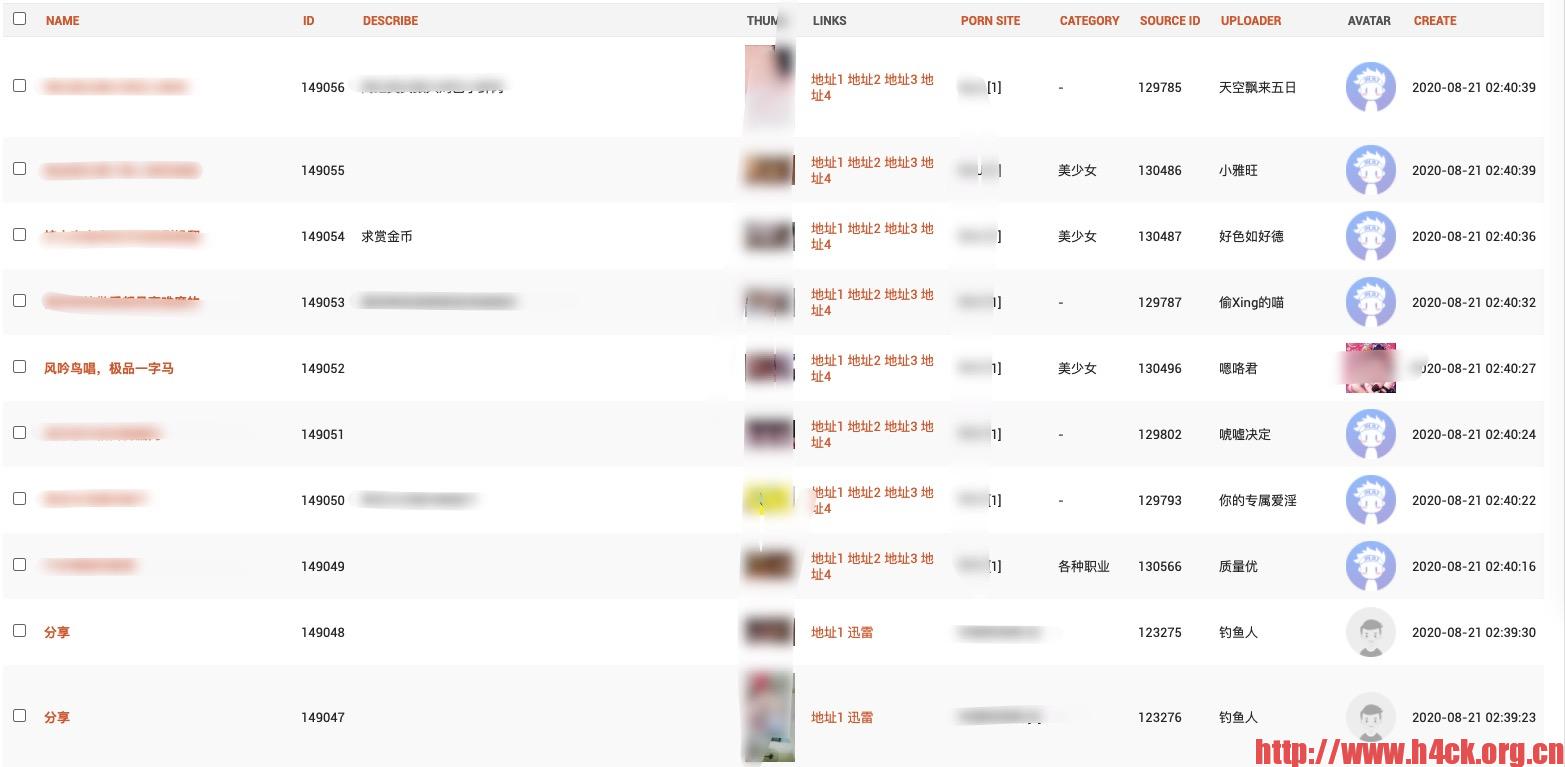
root
 |-- id: string (nullable = true)
 |-- create: string (nullable = true)
 |-- update: string (nullable = true)
 |-- name: string (nullable = true)
 |-- describe: string (nullable = true)
 |-- source_id: string (nullable = true)
 |-- publish_time: string (nullable = true)
 |-- play_count: string (nullable = true)
 |-- good_count: string (nullable = true)
 |-- bad_count: string (nullable = true)
 |-- link_count: string (nullable = true)
 |-- comment_count: string (nullable = true)
 |-- designation: string (nullable = true)
 |-- category_id: string (nullable = true)
 |-- porn_site_id: string (nullable = true)
 |-- uploader_id: string (nullable = true)
 |-- producer: string (nullable = true)